Ariens ST11528DLE Bedienungsanleitung
Stöbern Sie online oder laden Sie Bedienungsanleitung nach Schneewerfer Ariens ST11528DLE herunter. Ariens ST11528DLE User's Manual Benutzerhandbuch
- Seite / 36
- Inhaltsverzeichnis
- FEHLERBEHEBUNG
- LESEZEICHEN
- Sno-Thro® 1
- TABLE OF CONTENTS 2
- INTRODUCTION 2
- SAFETY DECALS AND LOCATIONS 3
- SAFETY RULES 4
- ASSEMBLY 7
- Deflector Remote 9
- CONTROLS AND FEATURES 11
- 926014, 015 12
- OPERATION 13
- FILLING FUEL TANK 16
- PRE-START 16
- TO STOP IN AN EMERGENCY 17
- STARTING AND SHUT OFF 17
- TRAVELING 18
- TRANSPORT 18
- SNOW REMOVAL 18
- MAINTENANCE 19
- Auger Shaft 20
- Figure 20 21
- SERVICE AND ADJUSTMENTS 22
- 015, 016, 500, 501) 23
- DEFLECTOR REMOTE 24
- DISCHARGE CHUTE 24
- SPEED SELECTOR ADJUSTMENT 25
- ATTACHMENT CLUTCH/BRAKE 25
- ADJUSTMENT 25
- ATTACHMENT DRIVE BELT 27
- REPLACEMENT 27
- FRICTION DISC REPLACEMENT 29
- BATTERY (926500, 501) 29
- SERVICE PARTS 30
- ACCESSORIES 30
- TROUBLESHOOTING 31
- SPECIFICATIONS 32
- Ariens Limited 34
- Warranties 34
Inhaltsverzeichnis
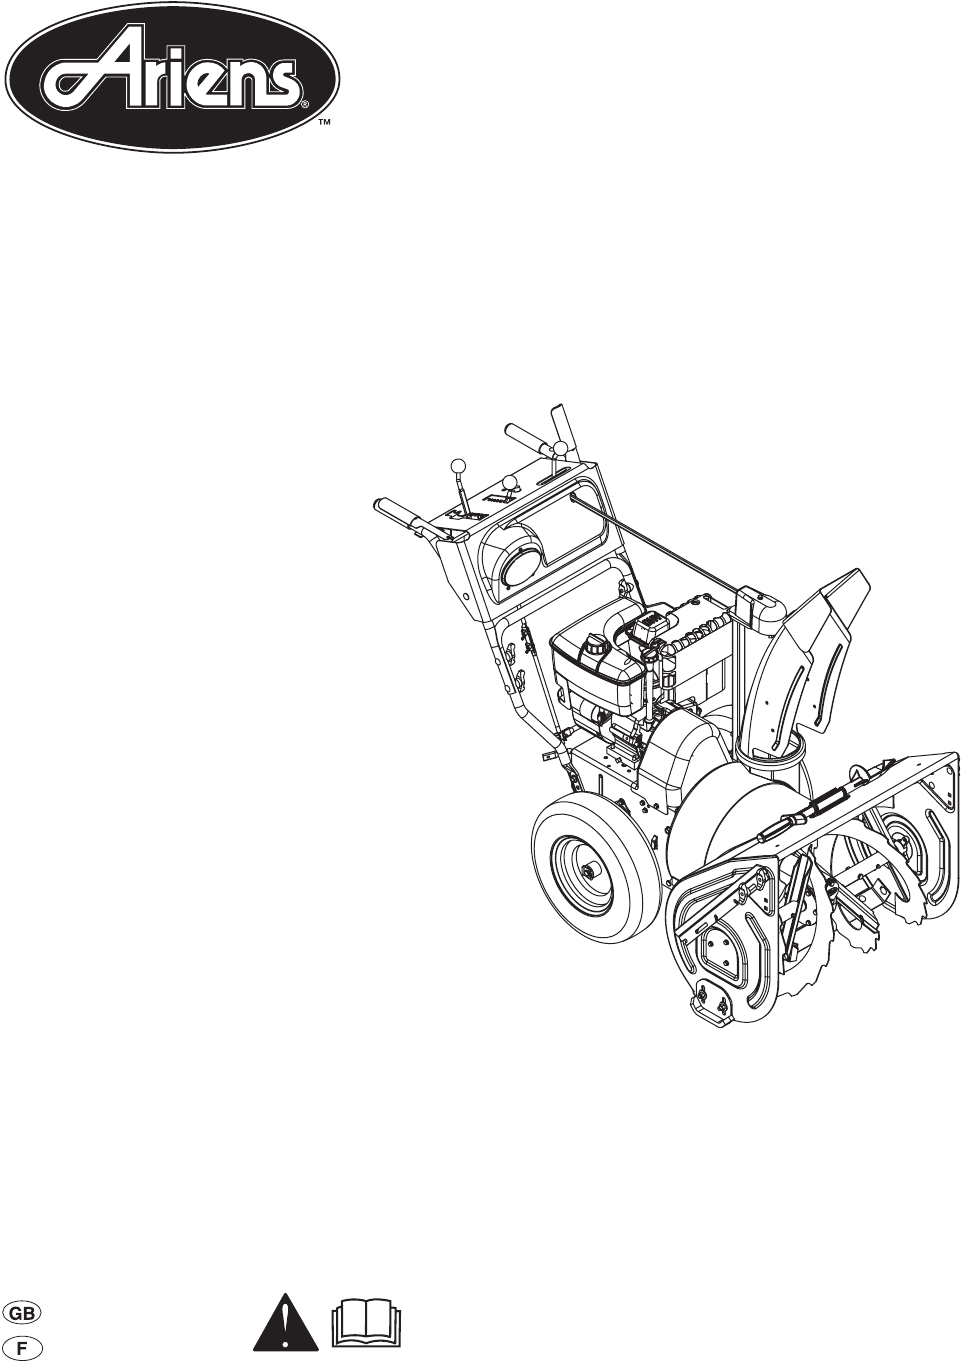
Owner/Operator ManualModels926001 – ST926LE926002 – ST11528LE926003 – ST1332LE926013 – ST8526DLE926014 – ST9526DLE926015 – ST11528DLE926016 – ST11528D
GB - 10Connect Battery (926500, 501)1. Remove wing nuts from battery cover.2. Install wire lead to battery terminal.3. Install battery cover and tight
GB - 111. Attachment Clutch Lever2. Speed Selector3. Deflector Remote Control 4. Chute Control 5. Traction Drive Clutch Lever6. Oil Fill/Dipstick7. Mu
GB - 121. Attachment Clutch Lever2. Speed Selector3. Deflector Remote Control 4. Chute Control 5. Traction Drive Clutch Lever6. Oil Fill/Dipstick7. Di
GB - 13CONTROLS AND FEATURESSee Figure 10 or Figure 11 for all Controls and Features locations.Dual Handle Interlock When Attachment Clutch and then T
GB - 14Choke Control Knob1. Choke Closed position: chokes off air to engine for easier start.2. Choke Open position: allows for normal operation.IMPOR
GB - 15Discharge Chute ControlIMPORTANT: If chute does not stay in set position, adjust as directed in SERVICE AND ADJUSTMENTS on page 22, or repair
GB - 16FILLING FUEL TANKFuel Shut-Off ValveIMPORTANT: The fuel shut-off valve MUST be in the closed position prior to transporting the unit.The fuel s
GB - 17 3. Check Dual Handle InterlockWithout the engine running, press down (engage) both clutch levers. Release attachment clutch lever. Attachment
GB - 185. Push Primer Bulb 2 or 3 times for cold engine.NOTE: When temperature is below -15° F (-26° C) additional priming may be needed.6. Insert key
GB - 19Ariens Dealers will provide any service or adjustments which may be required to keep your unit operating at peak efficiency. Should engine serv
GB - 2SAFETY. . . . . . . . . . . . . . . . . . . . . . . . . . . . . . . . . . 3ASSEMBLY . . . . . . . . . . . . . . . . . . . . . . . . . . . . . .
GB - 20CLEAN ENGINERefer to Engine Manual for detailed instructions.CHECK ENGINE OILThe engine crankcase oil should be checked every 5 hours of operat
GB - 2111Figure 20211Oil GreaseOS0642OS7135OS7140OS7150
GB - 22SCRAPER BLADEIMPORTANT: Damage to auger/impeller housing will result if blade wears down too far.Scraper blade is adjustable to compensate for
GB - 23NOTE: Insert the hair pin with the loop end on the left side of the chute rod so the control lever will cover its full range of travel.6. Align
GB - 246. Tighten the bottom jam nut.7. Re-install bottom cover.8. Check function of remote wheel lock. If wheel lock does not function properly, take
GB - 25If chute does not rotate freely:Tighten the cable by loosening the upper adjustment nut, and then tightening the lower adjustment nut against t
GB - 262. Reposition the idler on the attachment belt idler arm to adjust the spring extension, if necessary.a. Remove belt cover and loosen idler adj
GB - 27TRACTION DRIVE CLUTCH ADJUSTMENTIf drive slips, adjust traction clutch to compensate for friction disc wear.To adjust traction clutch: 1. Place
GB - 28Install new attachment drive belt:1. Place new attachment belt onto attachment pulley.NOTE: Holding down the attachment clutch lever will make
GB - 29FRICTION DISC REPLACEMENT1. Place unit into service position.2. Remove bottom cover by removing six hex bolts.3. With axle locked, hold one whe
GB - 3NOTE: To locate your nearest Ariens Dealer, go to www.ariens.com on the internet.2. Understand all Safety Precautions provided in the manuals.3.
GB - 30SHORT TERMIMPORTANT: NEVER spray unit with high pressure water or store unit outdoors.Run with attachment clutch engaged a few minutes after ea
GB - 31 TROUBLESHOOTINGPROBLEM PROBABLE CAUSE CORRECTION Engine will not crank/start.1. Fuel tank is empty.2. Fuel shut-off valve closed.3. Build up o
GB - 32SPECIFICATIONSModel Number 926001 926002 926003 926013DescriptionST926LE ST11528LE ST1332LE ST8526DLEEngine - TecumsehLH318SATecu ms ehOH318SA
GB - 33SPECIFICATIONSModel Number 926014 926015 926016 926500 926501DescriptionST9526DLE ST11528DLE ST11528DLE ST1332DLE ST1336DLEEngine - Briggs20B4
Ariens Company • 655 W. Ryan St, P.O. Box 157 • Brillion, WI 54110-0157• (920) 756-2141 • www.ariens.com ALW2 - 112806Ariens Limited Warranties2-Year
Ariens Company • 655 W. Ryan St, P.O. Box 157 • Brillion, WI 54110-0157• (920) 756-2141 • www.ariens.com ALW2 - 112806Exceptions, Limitations, Exclusi
Ariens Company655 West Ryan StreetP.O. Box 157Brillion, WI 54110-0157920-756-2141Fax 920-756-2407www.ariens.com
GB - 42. DANGER! 3. DANGER!SAFETY RULESRead, understand, and follow all safety practices in Owner/Operator Manual before beginning assembly or operati
GB - 5NEVER place your hands or any part of your body or clothing inside or near any moving part while unit is running.ALWAYS keep hands away from all
GB - 6Never fill containers inside a vehicle or on a truck or trailer bed with a plastic liner. Always place containers on the ground away from your v
GB - 7PACKAGE CONTENTSASSEMBLYTools Required:•Pliers• Open-End Wrenches: 3/8, 7/16, 1/2, 9/16 in. and/or Adjustable Wrench• Tire GaugeUnfold Handlebar
GB - 8Install Discharge Chute Crank 1. Remove the cover from the gear assembly on the discharge chute.2. Release the lock teeth on the gear assembly w
GB - 96. Insert the chute lock cable fitting into the bracket on the chute pedestal, and then connect the chute lock cable to the lock teeth by fittin
Verwandte Produkte und Handbücher für Schneewerfer Ariens ST11528DLE
 (34 Seiten)
(30 Seiten)
(34 Seiten)
(30 Seiten)
 (29 Seiten)
 (33 Seiten) (44 Seiten)
(38 Seiten)
(33 Seiten) (44 Seiten)
(38 Seiten)
 (65 Seiten)
 (28 Seiten)
(36 Seiten)
(32 Seiten)
(28 Seiten)
(36 Seiten)
(32 Seiten)
© 2020, manymanuals.de. Alle Rechte vorbehalten. | 0.613 s |
 Manymanuals.com
 Manymanuals.de
 Manymanuals.fr
 Manymanuals.it
 Manymanuals.pl
 Manymanuals.cz
 Manymanuals.es
 Manymanuals-pt.com
Kommentare zu diesen Handbüchern